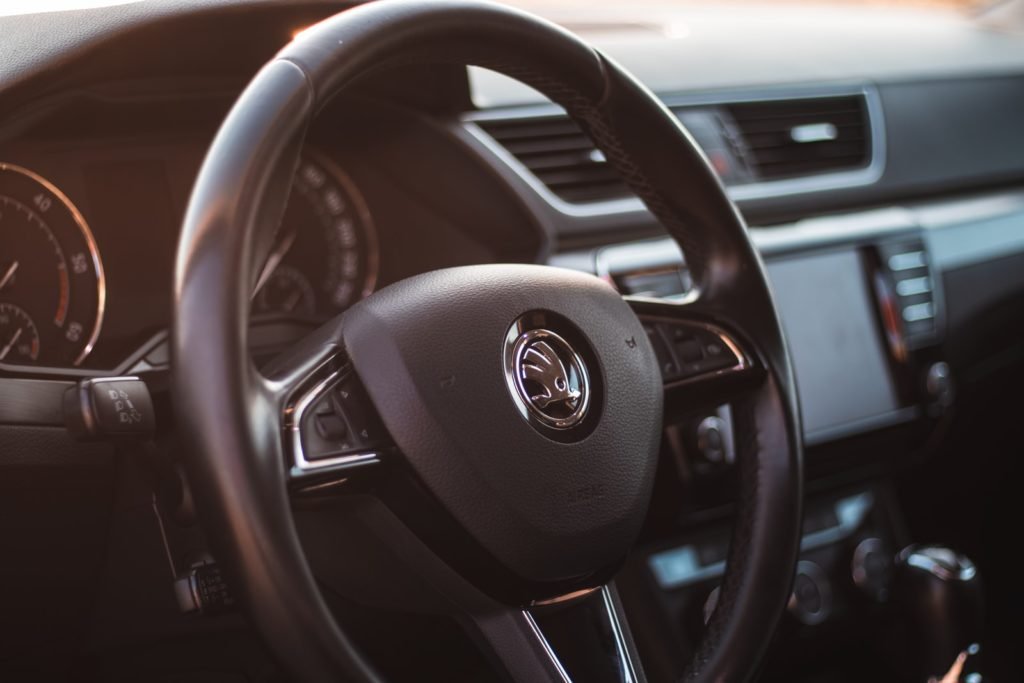
If you are trying to understand how electric car charging works at home, start with the simple version: your house provides electricity, the charging equipment checks safety, and the car decides how much power the battery will accept. For most owners, it becomes routine very quickly.
Your setup should match your daily mileage, how long the car stays parked, and what your home’s electrical system can support. Those basics matter more than buying the fastest charger available.
Key Takeaways
- Home charging is controlled by the car as much as the charger, so the vehicle’s own limits affect real-world charging speed.
- Level 1 can be enough for light daily driving, but it is slow if you need to recover a lot of range overnight.
- Level 2 gives more flexibility and a faster overnight recharge, though it may require a dedicated circuit and installation work.
- Charging cost comes from the electricity added to the battery and your utility rate, not from the charger model itself.
- Safe charging depends on proper equipment, a suitable circuit, and avoiding shortcuts such as worn outlets or long extension cords.
How electric car charging works at home
When you plug in, power moves from your electrical panel through an outlet or wall unit and into the car. Before charging starts, the car and the charging equipment confirm that the connection is secure and safe. Only then does electricity begin to flow.
Most home charging uses AC power. The car’s onboard electronics convert that power into the form the battery can store and manage how fast charging happens. This is why two EVs can charge at different speeds from the same home charger: the wall unit may be capable of more, but the car may accept less because of its own AC charging limit, battery temperature, or current charge level.
While the car is parked, you are mainly refilling the battery for later driving. Some EVs can also use wall power for battery heating, cooling, or cabin preconditioning when plugged in, which helps preserve battery energy before you leave.
Level 1 and Level 2 charging explained simply
Level 1: the easiest way to start
Level 1 charging uses a standard household outlet and the portable charging cable that often comes with the car. It is the simplest option because you may not need any new equipment beyond a suitable outlet near where you park. The U.S. Department of Energy’s home charging overview notes that many owners can meet daily driving needs this way if the car sits long enough overnight.
- Best for: short commutes, plug-in hybrids, and owners with long overnight parking windows.
- Not ideal for: drivers who regularly use a large share of the battery and need a quick turnaround.
- Trade-off: very low hassle, but slow recovery after heavier driving.
Level 2: faster overnight charging
Level 2 uses a 240-volt circuit and a dedicated home charger, usually mounted near the parking spot. It makes more sense when the EV is your main vehicle, your commute is longer, or your schedule leaves little room for slow charging.
- Best for: full EV owners, longer-distance commuters, two-EV households, and anyone who wants dependable overnight charging.
- Not ideal for: very light drivers whose routine is already covered by Level 1.
- Trade-off: much faster charging, but installation may involve a new circuit, permits, or a panel check.
Why DC fast charging stays public
DC fast charging is the ultra-fast option used at highway stops and commercial sites. It requires very different equipment and much more power than a normal home setup, so it works best as a travel backup rather than a realistic home charging plan.
How long home charging usually takes
Charging time depends on several factors working together: battery size, charger power, the car’s onboard AC charging limit, battery temperature, and how full the battery already is. A larger battery needs more energy, but a faster charger only helps if the car can actually use that extra power.
For daily life, the more useful question is not how long it takes to go from empty to 100%. It is whether the car can replace yesterday’s driving before you need it again. Level 1 can do that for lighter use. Level 2 gives you much more breathing room.
Charging also slows near the top of the battery range, so going from 20% to 80% is often quicker than filling the last stretch to 100%. Many owners find it more practical to charge to a routine target that covers normal driving instead of aiming for full every night.
What equipment you need and what installation affects
A home setup is easier to understand once you separate the parts. The cable carries electricity, the connector fits the car’s charge port, and a Level 2 wall unit handles safety checks, power delivery, and sometimes scheduling or app controls. With Level 1, the portable cable often combines most of those jobs into one unit.
Connector standards vary by car and region, so the charger has to match your vehicle. Adapters can help in some cases, but they are not a universal fix for every charging situation.
Before installing Level 2, an electrician usually checks panel capacity, available breaker space, the distance from the panel to your parking area, and whether local rules require a permit or inspection. As installation details like panel location and electrical upgrades can change the scope of the job, the charger itself is often only part of the total cost.
How to choose the right setup for your routine
Start with your driving pattern, not a charger’s maximum rating. A regular outlet may be enough if you drive relatively little, park for long stretches, and can accept slower recovery after a heavy-use day. A Level 2 charger makes more sense when your EV is your main car, your schedule is less predictable, or two drivers may share one charging spot.
It also helps to know your car’s maximum AC charging rate. If the charger can deliver more power than the car can accept, you may pay for capacity you rarely use.
| Option | Best for | Main advantage | Limitation | Not ideal if |
|---|---|---|---|---|
| Level 1 with portable cable | Light daily driving and long overnight parking | Lowest cost and easiest way to begin | Slow after heavier use | You often need a large recharge by morning |
| Basic Level 2 charger | One EV that needs reliable overnight charging | Faster replenishment without extra features | Requires installation and a dedicated circuit | Your driving needs are already met by Level 1 |
| Smart Level 2 charger | Owners who want scheduling, monitoring, or utility integration | Better control over timing and energy use | Higher price and more setup complexity | You will not use the app or off-peak features |
| Public DC fast charging as backup | Road trips and occasional urgent top-ups | Very fast when time matters | Usually costs more and is not home charging | You are looking for a daily home solution |
Smart features are worth paying for only if they solve a real problem. Scheduling, energy tracking, and charging alerts can be useful if your utility charges less at night or if you want confirmation that charging finished as planned. If managed charging is available in your area, EnergySage explains how demand response and managed charging can work for EV charging. If you will never use those tools, a simpler charger is usually the better buy.
What home charging costs
The simplest estimate is: kWh added to the battery x your electricity rate per kWh = charging cost. If you add 40 kWh at a rate of 0.15 per kWh, the charge costs 6.00 in the same currency unit as your rate.
The wall may draw a little more electricity than the battery stores, so the number is not exact down to the cent, but it is accurate enough for everyday budgeting. If your utility offers lower off-peak rates, scheduled charging can reduce costs without changing when you plug in.
Home charging is also where EV ownership is usually most economical. Public fast charging is useful when you need it, but it often costs more per unit of energy than charging at home.
Safe charging habits and common mistakes
Safe charging is mostly about using the right equipment in the right way. A proper circuit and correct installation reduce the risk of overheating, nuisance tripping, and wear on outlets or wiring. For Level 2, a dedicated circuit matters.
- Avoid long extension cords and makeshift adapters. Most problems come from using charging equipment in ways it was not designed for.
- Do not assume every outlet charges the same way. A standard outlet and a 240-volt circuit are very different, and even Level 2 setups vary.
- Do not overspend on charger power without checking your car’s limit. More charger capacity does not always mean faster daily charging.
- Do not wait until the battery is nearly empty every time. Home charging usually works better as a regular top-up habit.
- Stop using damaged outlets. If an outlet feels hot, looks worn, or holds the plug loosely, have it inspected before charging again.
The reassuring part is that charging is a managed process. The car and charger monitor the session and can pause or stop if something is wrong.
A simple home charging routine
For most owners, the routine is straightforward: park, plug in, and let the car or charger follow your settings. If your electricity is cheaper late at night, you can connect the car when you get home and have charging start later. Leaving the car plugged in overnight is standard practice for many EV owners.
That convenience is why home charging becomes the default for so many people. Public charging still matters for long trips, homes without dependable parking, or situations where installation is not possible, but for everyday driving, charging where the car already sits is usually the simplest answer.